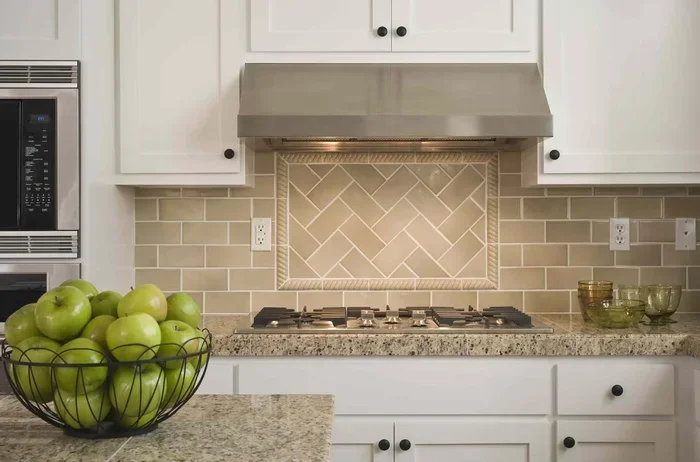
Learning how to put tile on wall in the kitchen is easier than you think. This beginner guide walks you through every step, from choosing the right tiles to finishing with a professional look. You will need basic tools, some patience, and the right materials. We cover wall prep, layout planning, cutting tiles, and grouting. By the end, you will feel confident tackling your own kitchen tile project.
Have you ever looked at a beautiful kitchen backsplash and thought, “I could do that”? The truth is, how to put tile on wall in the kitchen is one of the most rewarding beginner DIY projects you can take on. It transforms your space, adds value to your home, and you do not need to be a professional to get great results.
Many homeowners worry that tiling a wall is too hard or too expensive. But with the right guidance, the correct tools, and a bit of patience, anyone can learn this skill. This guide breaks down the entire process into simple, easy-to-follow steps. Whether you want a classic subway tile look or a bold mosaic design, you will find everything you need right here.
We will cover every detail. From choosing your tiles and preparing the wall to cutting, adhesive application, and grouting. By the time you finish reading, you will have a clear roadmap for your project. Let us get started.
Key Takeaways
- Start with the right tools: A notched trowel, tile cutter, and level make the job much easier.
- Prepare the wall properly: Clean, dry, and flat surfaces ensure tiles stick and last longer.
- Plan your layout first: Dry-laying tiles before adhesive saves time and reduces mistakes.
- Use tile spacers consistently: They keep gaps even for a clean, professional finish.
- Grout and seal after 24 hours: This protects your backsplash from moisture and stains.
- Avoid common errors: Rushing prep, skipping leveling, and wrong adhesive cause most failures.
- Start small if you are nervous: A small accent wall builds confidence before tackling a full backsplash.
📑 Table of Contents
- Why Tiling a Kitchen Wall Is a Great DIY Project
- Tools and Materials You Will Need
- Preparing the Wall for Tile Installation
- Step-by-Step: How to Put Tile on Wall in the Kitchen
- Grouting and Finishing Touches
- Common Mistakes to Avoid When Tiling a Kitchen Wall
- Tips for a Professional-Looking Finish
- Maintaining Your Kitchen Tile Wall
- Conclusion
Why Tiling a Kitchen Wall Is a Great DIY Project
Tiling a kitchen wall offers many benefits beyond just looks. A fresh backsplash protects your walls from splashes, grease, and moisture. It also gives your kitchen an instant facelift without the cost of a full renovation.
Here is why beginners love this project:
- Low cost: You can update a kitchen for a few hundred dollars.
- Quick completion: Most walls take one to two days.
- No special skills needed: If you can measure and spread paste, you can tile.
- Huge visual impact: A tiled wall becomes the focal point of any kitchen.
- Easy to fix mistakes: Individual tiles can be removed and replaced.
The key to success is preparation. Taking time to plan and gather materials saves frustration later. Now let us look at what you need before you start.
Tools and Materials You Will Need
Having the right tools makes any job easier. Before you begin tile installation, gather everything on this list. You do not want to stop mid-project because you are missing something.
Essential Tools
- Notched trowel – for spreading adhesive evenly
- Tile cutter or wet saw – for cutting tiles to size
- Tile spacers – to keep consistent gaps between tiles
- Level – to keep your rows straight
- Measuring tape – for accurate dimensions
- Grout float – for spreading grout
- Sponge – for cleaning excess grout
- Rubber mallet – for tapping tiles into place
- Pencil and chalk line – for marking layout lines
Materials Needed
- Tiles of your choice (ceramic, porcelain, glass, or natural stone)
- Thinset mortar or tile adhesive (check that it is rated for wall use)
- Grout (sand-based for wider gaps, unsanded for narrow gaps)
- Tile sealer (especially for natural stone or grout)
- Backer board (if tiling over drywall)
- Spackle or wall patch compound
- Painter’s tape
- Bucket and water
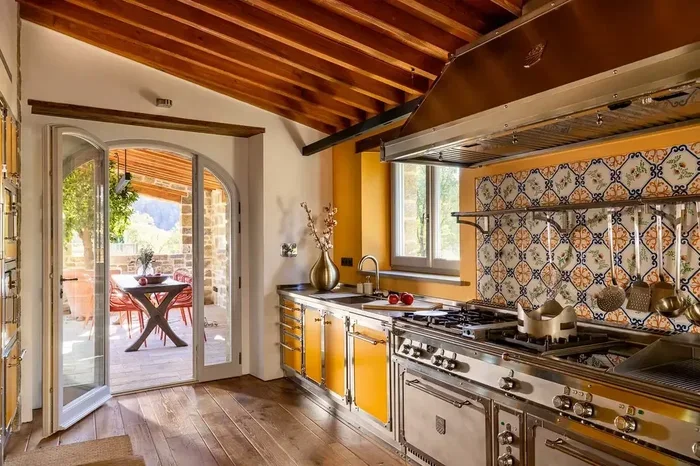
When choosing tiles, consider the kitchen’s style. Subway tiles are timeless and work in almost any design. Mosaic tiles add texture and visual interest. Porcelain tiles are durable and resist moisture well. Pick what fits your taste and budget.
Preparing the Wall for Tile Installation
Wall preparation is the most important step in how to put tile on wall in the kitchen. Skipping this step is the number one reason projects fail. A well-prepped wall ensures your tiles stick properly and stay level.
Step 1: Clean the Wall Surface
Start by thoroughly cleaning the wall. Remove any grease, dust, or loose paint. Use a degreaser if the wall near the stove is oily. A dirty surface prevents adhesive from bonding correctly.
Step 2: Repair Any Damage
Check for cracks, holes, or uneven spots. Fill them with spackle or wall compound. Let it dry completely, then sand smooth. The wall should feel flat to the touch.
Step 3: Decide on a Backer Board
If you are tiling over drywall, you should install a backer board first. Cement board or green board works well in wet areas like kitchens. This adds a stable, moisture-resistant surface for your tiles.
Step 4: Plan Your Layout
Before you touch any adhesive, plan your tile layout. Use a pencil and chalk line to mark horizontal and vertical center lines on the wall. This helps you start in the middle and work outward, which ensures symmetrical edges.
Quick Tip: Always dry-lay a few rows of tiles on the floor first. This lets you see the pattern, check sizes, and make adjustments before committing to the wall.
Step-by-Step: How to Put Tile on Wall in the Kitchen
Now comes the fun part. Follow these steps carefully, and you will have a beautiful tiled wall in no time.
Step 1: Mix Your Adhesive
Follow the instructions on your thinset mortar or tile adhesive package. Mix it to a smooth, peanut-butter-like consistency. Let it rest for about 10 minutes (called “slaking”), then mix it again lightly. This activates the chemicals for a stronger bond.
Step 2: Apply Adhesive to the Wall
Use your notched trowel to spread adhesive on a small section of the wall. Hold the trowel at a 45-degree angle. This creates ridges that help the tiles grip the surface. Only cover an area you can tile in about 10 to 15 minutes. Adhesive dries fast, so work in small sections.
Step 3: Set the Tiles
Press each tile firmly into the adhesive. Twist it slightly to seat it properly. Use tile spacers between every tile to keep gaps consistent. Check your level after every few tiles to make sure everything stays straight.
Step 4: Cut Tiles for Edges and Outlets
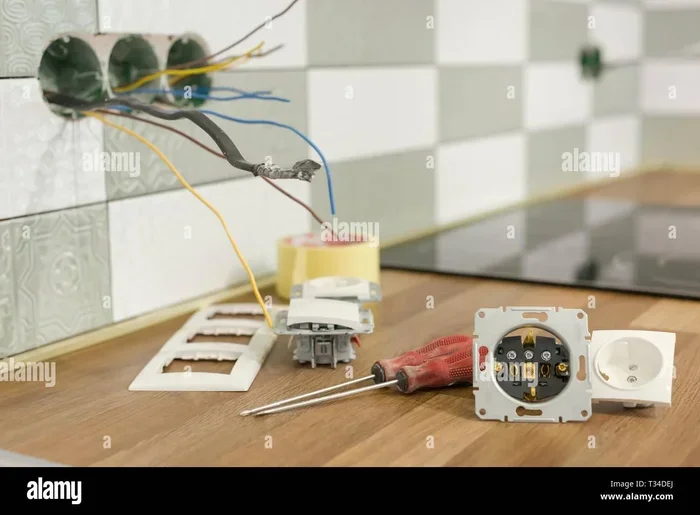
You will need to cut tiles around outlets, corners, and edges. A manual tile cutter works for straight cuts. A wet saw gives cleaner cuts for tricky angles. Always measure twice and cut once. Place cut tiles gently to avoid cracking.
Step 5: Let the Adhesive Cure
Most adhesives need 24 hours to fully cure. Do not disturb the tiles during this time. Keep foot traffic and moisture away from the wall. This waiting period is crucial for a strong bond.
Expert Insight: Using a tile leveling system can make a big difference. It keeps tiles perfectly even across the entire wall, preventing lippage (when one tile edge sits higher than the next).
Grouting and Finishing Touches
Once the adhesive has cured, it is time to grout. Grout fills the gaps between tiles and creates a smooth, finished look. It also helps protect the wall from moisture.
How to Apply Grout
- Mix your grout according to the package directions.
- Scoop a handful onto the wall with a grout float.
- Spread it diagonally across the tiles, pressing it into the gaps.
- Wait 15 to 20 minutes for the grout to set slightly.
- Wipe away excess grout with a damp sponge. Rinse the sponge often.
- Let the grout haze dry completely (usually 1 to 2 hours).
- Buff the tiles with a dry cloth to remove any remaining haze.
Sealing Your Tile Wall
After the grout has cured (typically 48 to 72 hours), apply a tile sealer. This is especially important for natural stone, unglazed tiles, and grout lines. Sealer protects against stains, moisture, and everyday kitchen splashes.
Use a grout sealer for the joints and a tile sealer for the tile surface if recommended. Apply with a clean cloth or small brush. Let it dry completely before using the kitchen normally.
Quick Tip: Add a thin bead of caulk where the tile wall meets the countertop or backsplash edges. Caulk flexes with the building, while grout cracks under movement. This small step prevents future damage.
Common Mistakes to Avoid When Tiling a Kitchen Wall
Even with the best plans, mistakes happen. Here are the most common errors beginners make and how to avoid them.
Mistake 1: Skipping Wall Preparation
A dirty or uneven wall causes tiles to fall off. Always clean, repair, and flaten the surface before tiling. Do not rush this step.
Mistake 2: Using the Wrong Adhesive
Not all adhesives work for all tiles. Check the label to make sure your adhesive is compatible with your tile type and is rated for wall applications. Heavy tiles like natural stone need stronger adhesive.
Mistake 3: Ignoring Expansion Gaps
Tiles expand and contract with temperature changes. Leave small gaps at the edges of the wall and around outlets. Use tile trim pieces to create a clean finish at these gaps.
Mistake 4: Not Using Spacers
It might be tempting to place tiles tightly together, but gaps are essential. They allow for grout and natural tile variation. Tile spacers keep gaps even and make your wall look professional.
Mistake 5: Grouting Too Soon
If you grout before the adhesive fully cures, moisture gets trapped and weakens the bond. Always wait at least 24 hours before applying grout.
Mistake 6: Overlooking Layout Planning
Starting without a plan often leads to awkward cuts and uneven edges on one side. Always mark your center lines and dry-lay your pattern first.
Tips for a Professional-Looking Finish
Want your kitchen tile wall to look like it was done by a pro? Follow these extra tips.
- Work from the center outward. This keeps cuts balanced on both sides.
- Clean tiles as you go. Wipe off adhesive immediately with a damp cloth. It is much harder to clean once it dries.
- Check level every few tiles. A small deviation becomes noticeable over a full wall.
- Use the right blade for cutting. A dull blade chips tiles and makes uneven edges.
- Take your time. Rushing leads to mistakes. Plan for a full weekend for a standard kitchen wall.
- Watch YouTube tutorials. Seeing the process in action helps you understand technique better than reading alone.
Quick Tip: If you are nervous about a full backsplash, start with a small accent wall or a decorative strip. This builds your confidence and skills before tackling a larger area.
Maintaining Your Kitchen Tile Wall
Once your tile wall is complete, keeping it looking great is simple. Kitchen tile walls are naturally easy to maintain.
Wipe down tiles after cooking to prevent grease buildup. Use a mild cleaner and a soft cloth. Avoid harsh abrasive products that can scratch the tile surface. Reapply grout sealer once a year and tile sealer every two years for long-lasting protection.
If a tile cracks or chips over time, it is easy to replace. Simply pry out the damaged tile, scrape away the old adhesive, apply fresh adhesive, and set a new tile in place. This is one of the big advantages of tile over other wall materials.
Conclusion
How to put tile on wall in the kitchen does not have to be intimidating. With the right preparation, tools, and a little patience, you can create a beautiful kitchen backsplash that you will be proud of for years. The process breaks down into simple steps: prepare the wall, apply adhesive, set tiles, let cure, grout, and seal.
Remember that every professional started as a beginner. Your first project might not be perfect, and that is okay. Each project teaches you something new, and your skills will improve with every wall you tile. Start small, take your time, and enjoy the process. Your kitchen deserves a fresh, updated look, and now you have the knowledge to make it happen yourself.
Grab your tools, pick out your favorite tiles, and take the first step today. You will be amazed at what you can accomplish.
Frequently Asked Questions
What is the best tile for a kitchen wall?
Ceramic and porcelain tiles are the most popular choices for kitchen walls. They are durable, water-resistant, and easy to clean. Subway tiles and mosaic tiles are classic options that work with almost any kitchen style.
Do I need a backer board for my kitchen wall?
If you are tiling over drywall, yes. A cement backer board adds moisture resistance and a stable surface. It prevents the drywall from absorbing water and getting damaged behind the tiles.
How long does it take to tile a kitchen wall?
A standard kitchen backsplash takes one to two days for most beginners. This includes wall prep, adhesive application, tile setting, and grouting. Larger walls or intricate patterns may take longer.
Can I tile directly over existing tiles?
Yes, but only if the existing tiles are in good condition, firmly bonded, and clean. Sand the surface lightly for better adhesive grip. If tiles are loose or damaged, remove them first.
How long should I wait before grouting?
Wait at least 24 hours after applying adhesive before grouting. The adhesive must be fully cured to support the weight of the grout and prevent moisture from getting trapped underneath.
Is tiling a kitchen wall expensive?
Not at all. A typical kitchen tile wall project costs between $200 and $800 depending on tile choice and wall size. Tools and materials are affordable, and the result looks far more expensive than the cost.